Installing Debian/GNU Linux under bhyve on TrueNAS Core
I got myself a TrueNAS Mini X+ couple of months ago. I have it running TrueNAS Core based on FreeBSD. In that system you can run VMs under FreeBSD’s native hypervisor, bhyve. Since there are a couple of quirks around running Debian specifically, I decided to write up a quick article about setting up Debian-based VM there.
The quirks
The ones I’ve stumbled upon were:
- Bug related to VNC that makes the installer screen look like scrambled analog satellite video signal from the 90’s (see below).
- Bug around booting up using UEFI (basically the only option if you want to use VNC).
- XOrg not working with the virtualized graphics card (haven’t solved that one, but I haven’t even tried since I don’t need it).
The installation
I’ll briefly discribe the process here highlighting the workarounds for the 1st 2 bugs above.
Creating the VM
That’s really straightforward. In the Virtual Machines section click ADD. The 1st step is filling out operating
system details. Make sure to choose Linux, UEFI and enable VNC.
In step 2 choose number of CPUs, cores, and memory. 3rd step – create disk image and in final step set up a network.
Now, if you run the VM and click on the VNC button, you’ll see something like this:

VNC-related problem
The bug related to VNC that’s scrambling the screen can be worked around by changing resolution in the settings of the
VNC device to 800x600. To do that expand your VM’s view in TrueNAS GUI. If you’re VM’s running, power it off. Now
go to devices settings (click DEVICES) and then click 3 dots on the right hand side of your VNC device. From the
context menu select Edit and change the resolution.
Fire up your VM, and you can begin installation process. If you haven’t started yet, you probably want to go with
Expert Mode – this will allow you to fix the bug number two toward the end of installation process. If you haven’t
done that (or already have installed Debian), don’t worry – you can fix that later, too.
GRUB-related problem
If you’ve gone with Expert Install toward the end of the installation process you’ll be prompted if you’d like to
force GRUB installation to the EFI removable media path:
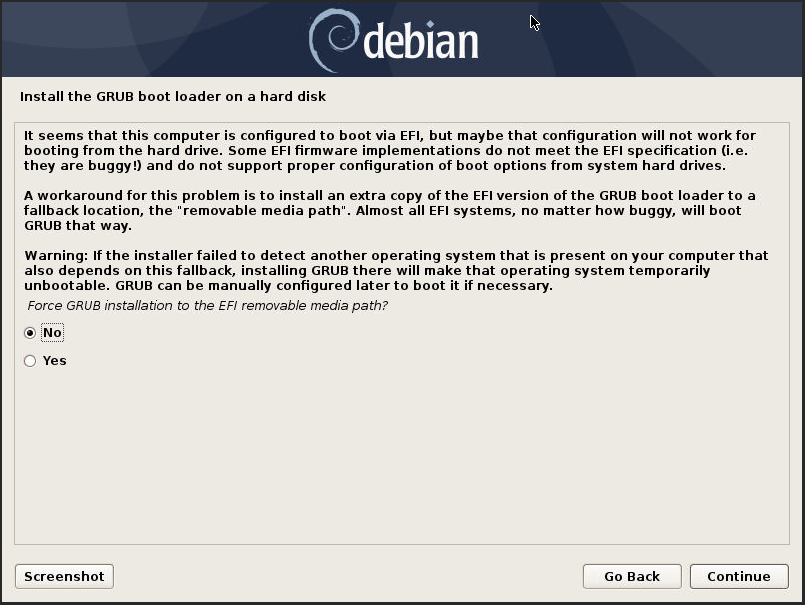
By default, it’s set to No, but Choose Yes here.
After installation
After installation process is complete, the VM will reboot. However, it’ll boot from the installation media again. Just
power off the VM and remove CDROM device. Now start the VM again.
The GRUB-related problem (post installation)
If you haven’t gone with the Expert Install and the GRUB issue is affecting you, you’ll have to use a Rescue Mode
of the installation ISO to fix it.
Just boot from the installation ISO again (you might need to re-add CDROM device pointing it to the same image you used
for installation). Choose Advanced Options... from the main menu and then either regular or graphical Rescue Mode.
Click Continue all the way until you’re being asked to choose root partition:
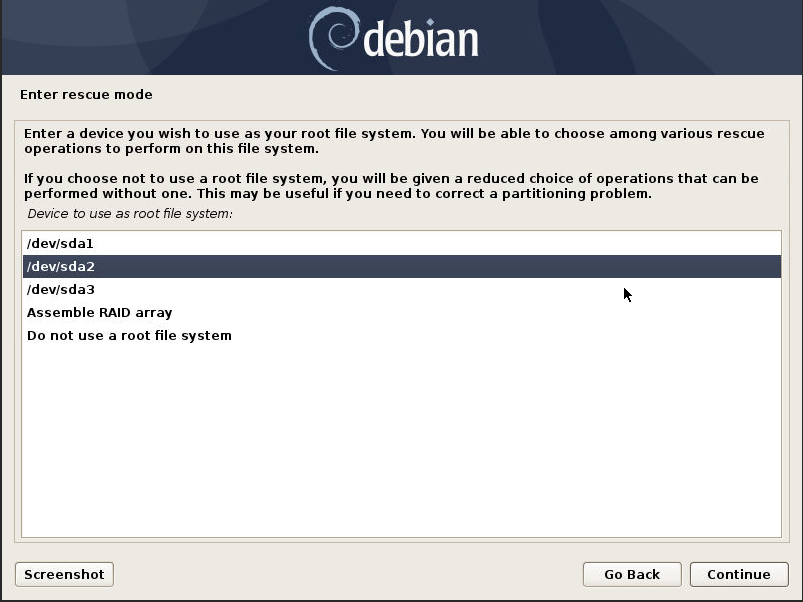
If you don’t know which partition is the root partition, go with the 2nd one (/dev/sda2). When asked if you want the
additional efi partition mounted, answer Yes.
Now on Rescue operations screen choose Force GRUB installation to the EFI removable media path:
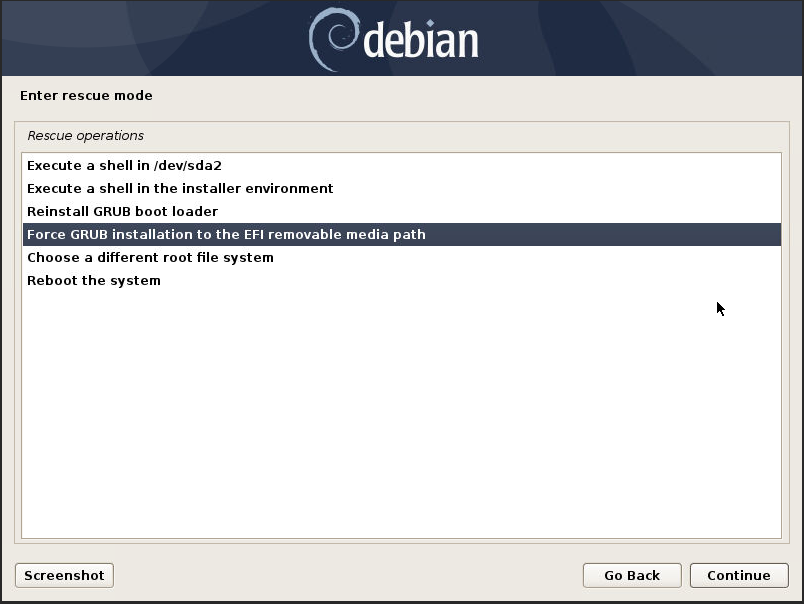
You’ll be asked if you want to force GRUB installation to the EFI removable media path again (screen very similar to
the one you’d see in the installer’s Expert Mode):
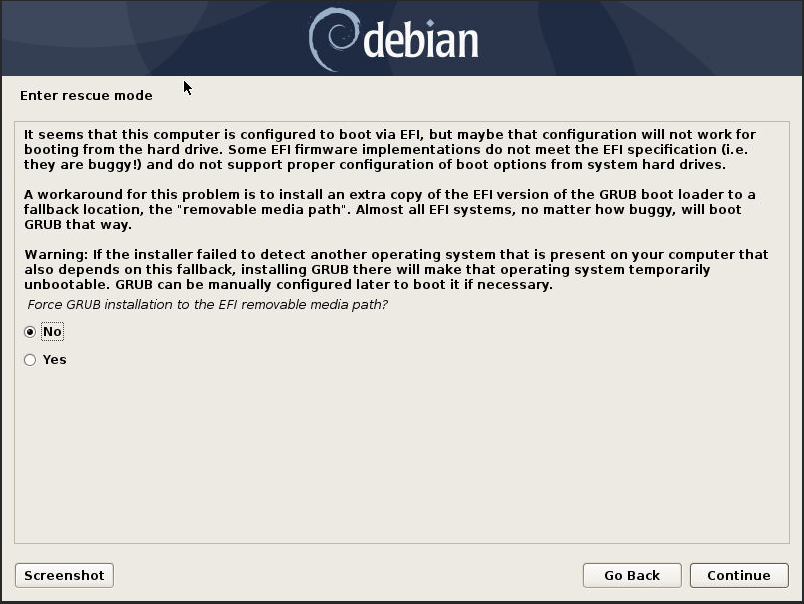
Again, by default, No is selected, but you have to answer Yes here, and continue. This will also make GRUB remember your choice about installing to EFI removable path, so any update in the future will do this automatically for you. You won’t have to worry about it anymore on this VM.
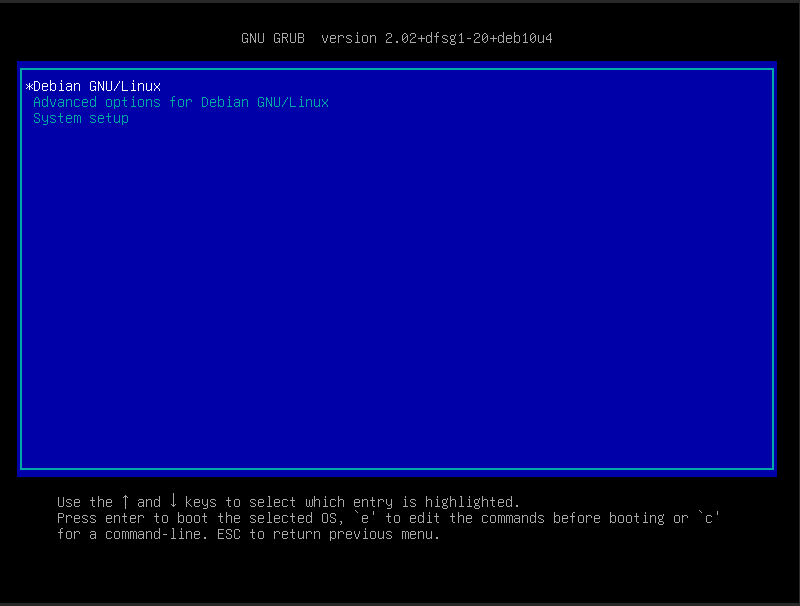
That’s it. Exit the installer. After rebooting you’ll have to shut down the VM again, remove CDROM, and turn it back on. Now you’re good to go:
Originally I suggested fixing GRUB issue with running # grub-install --force-extra-removable command in Rescue Mode’s shell prompt, but --force-extra-removable is being deprecated so this is not the way to go. Thank you
Steve McIntyre for pointing this out!
Alternatively you could also force GRUB issue from the command prompt, but instead of using grub-install with
deprecated flag, you’d want to run:
# dpkg-reconfigure grub-efi-amd64
This command would allow you to accomplish the same thing, and it’ll make GRUB remember your choice the same way as above.